Hi! After my long hiatus, I do not come empty-handed :D
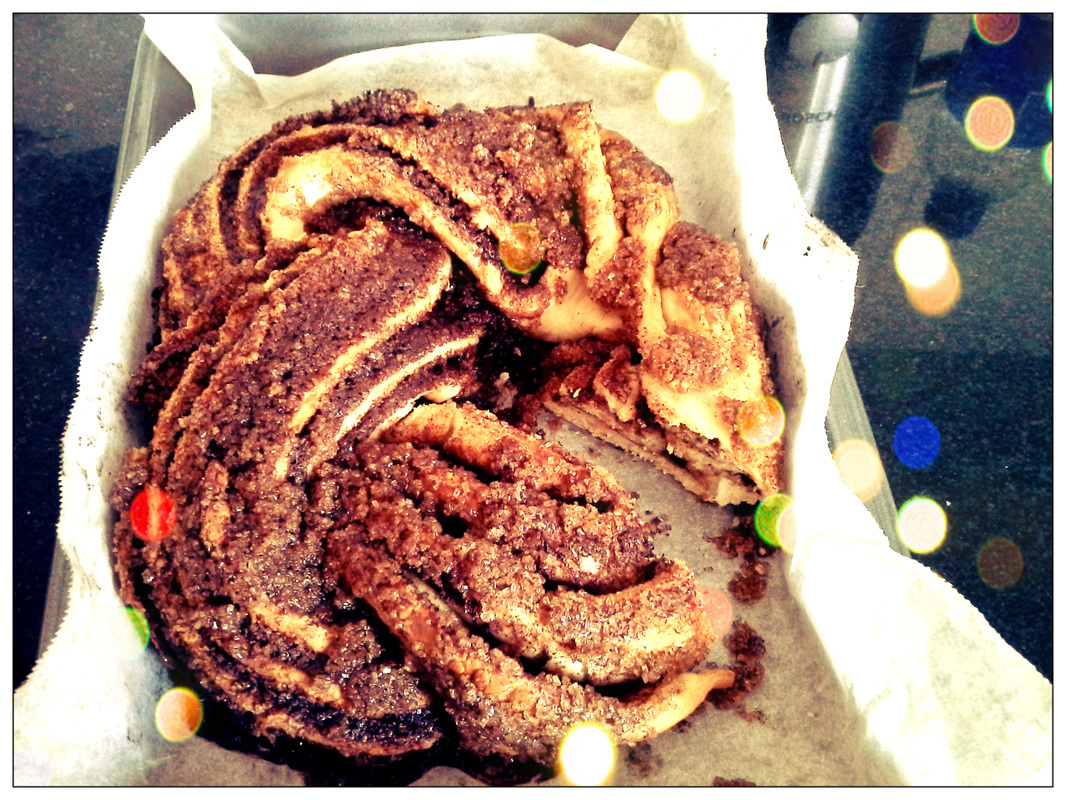
Amidst my Artificial Intelligence quiz prep, I found myself surfing the web for some cinnamon bread recipes!! I came up with my own spin on the Braided Cinnamon Bread and I assure you that it is NOTHING short of FABULOUS and DELICIOUS in every cinnamon-y way. It's ridiculous, not even funny, how inviting this looks because it tastes even better. It's kinda looks like a Christmas wreath as you can see, except that apart from hanging this on your door this tastes ridiculously good. Did I just say ridiculous twice? Coz it's THAT good!
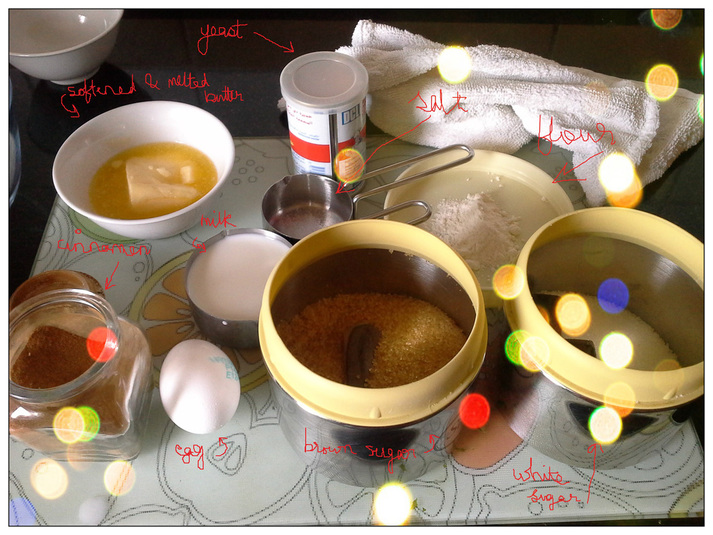
Ingredients time! They're just shelf groceries that everybody stocks so I'm sure you have these :
For the bread :
For the filling :
Amidst my Artificial Intelligence quiz prep, I found myself surfing the web for some cinnamon bread recipes!! I came up with my own spin on the Braided Cinnamon Bread and I assure you that it is NOTHING short of FABULOUS and DELICIOUS in every cinnamon-y way. It's ridiculous, not even funny, how inviting this looks because it tastes even better. It's kinda looks like a Christmas wreath as you can see, except that apart from hanging this on your door this tastes ridiculously good. Did I just say ridiculous twice? Coz it's THAT good!
Ingredients time! They're just shelf groceries that everybody stocks so I'm sure you have these :
For the bread :
- 1 packet of yeast (2 1/4 tsp yeast)
- 3/4 cup warm milk
- 1 tbsp sugar
- 2 1/4 cups flour
- 1 egg yolk
- 1/8 cup melted butter
- Pinch of salt
For the filling :
- 3 tsp cinnamon
- 4 tbsp sugar
- 1/4 cup softened butter
Procedure :
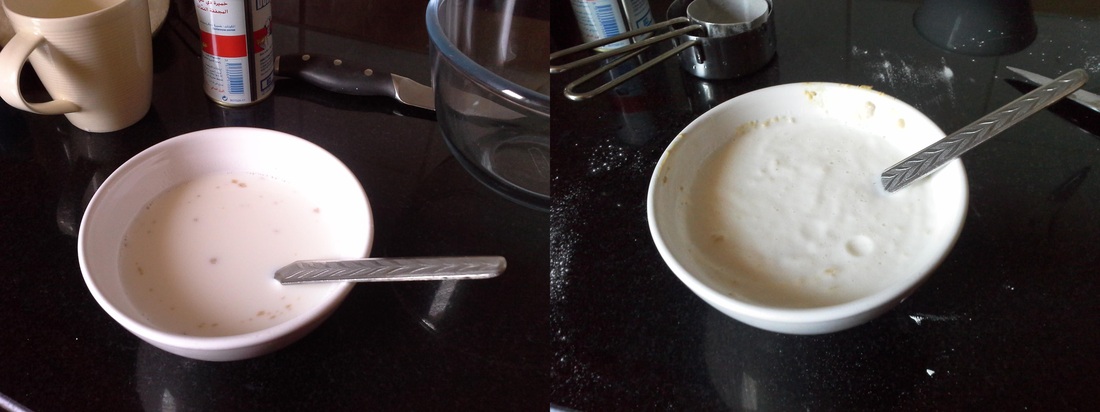
In a small bowl, stir together the yeast, warm milk & sugar. Let this mixture stand for about 10 minutes, after crushing the big lumps of yeast with a spoon.
In the picture below the left one is before, and right one is the yeast AFTER 10 mins. As you can see the mixture becomes frothy and bubbly due to the release of gas by yeast.
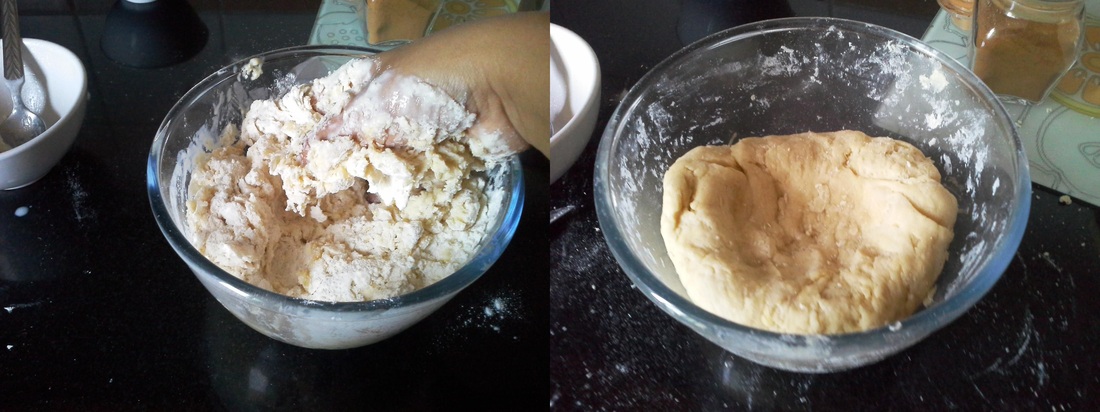
In another bowl, at your flour, egg yolk, melted butter and salt.
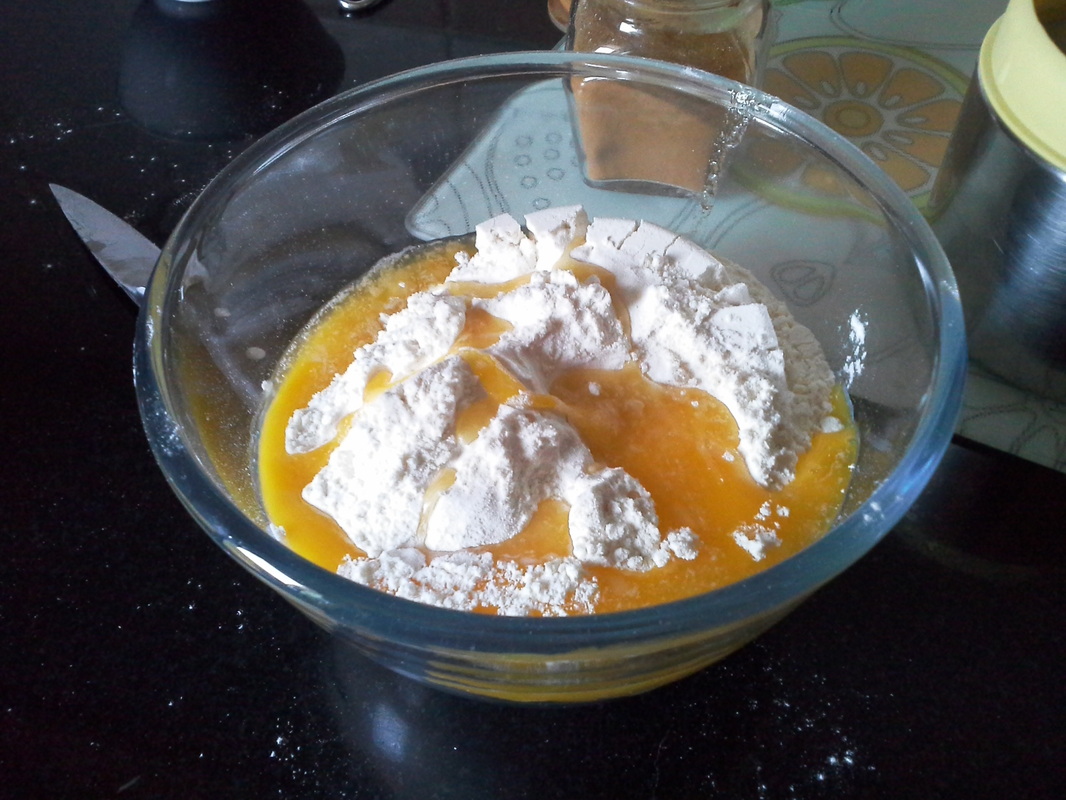
Start kneading and punching the dough! Now, you can either use a stand-in mixer, or a hand mixer, or just get all up in there like I did. I use my hands, for dough like this, because I find i can gauge the consistency of the dough and know how much is enough. Here is a picture before the kneading and after the kneading. Left is before, right is after. When you're done kneading, punch down the dough so it helps to rise and the rising is visible. Cover it with plastic wrap or a cloth. The advantage of plastic wrap is that you can see for yourself how much the dough has risen, without disturbing the process by lifting the cloth and peeking!
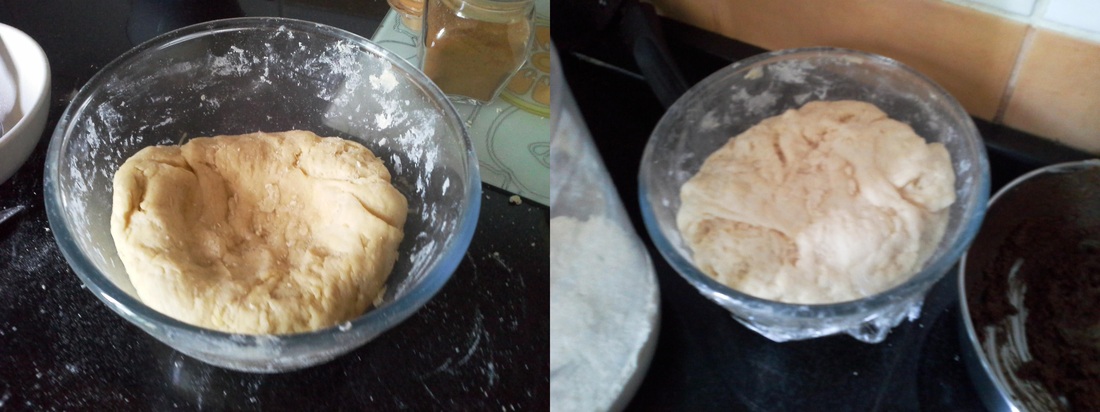
Let the dough rise for an hour. I actually punched the dough back down after 30 mins to let it rise further. Till then you can get to work with the cinnamon filling. Here is a before and after picture of the dough after letting it rise for an hour! Again, left is before, right is after.
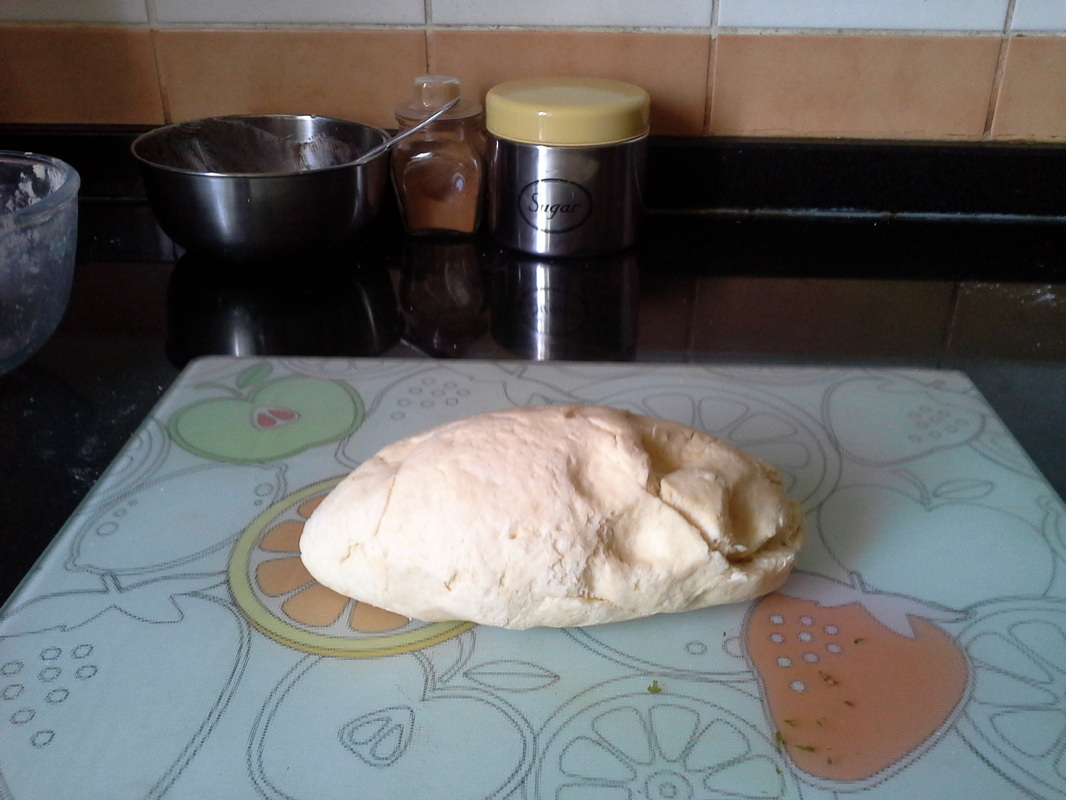
For the cinnamon filling, merely mix together the ingredients till it forms a paste. Mix the butter in with the back of your spoon. This forms a smooth brown paste!
At this point, you want to preheat your oven to 200deg celcius. While that's happening...
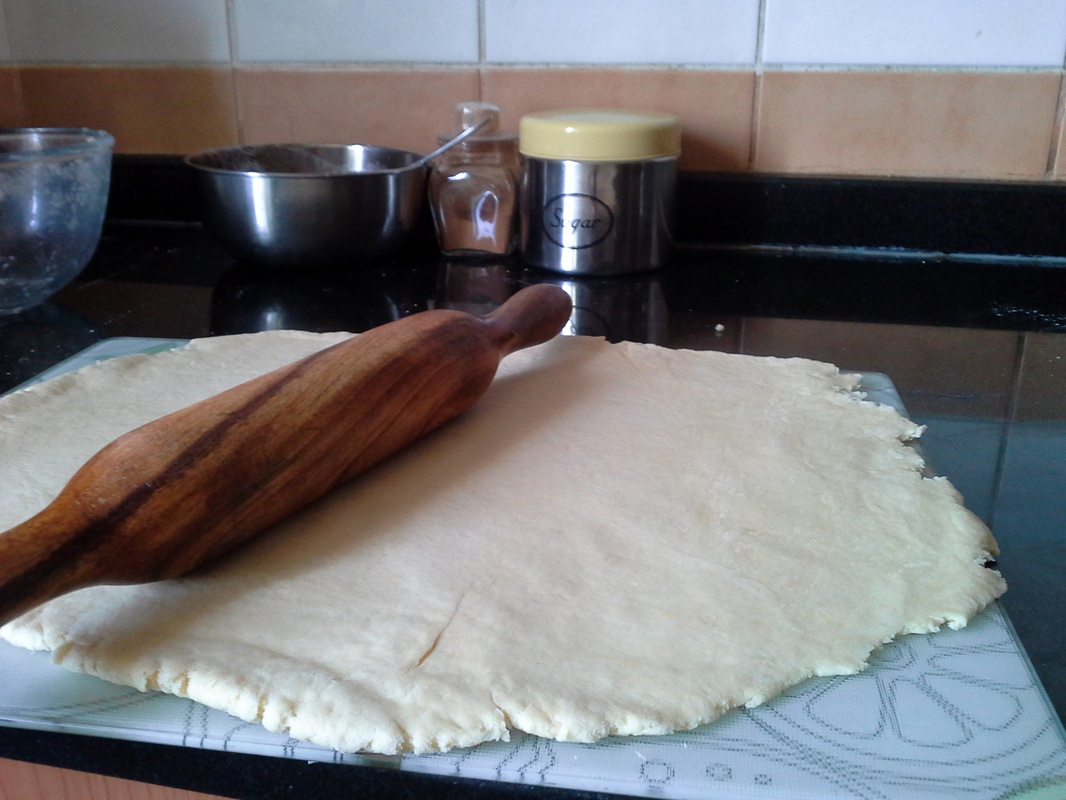
After the dough has risen, spread it flat to about 1/4 inch thickness.
At this point, you want to preheat your oven to 200deg celcius. While that's happening...
After the dough has risen, spread it flat to about 1/4 inch thickness.
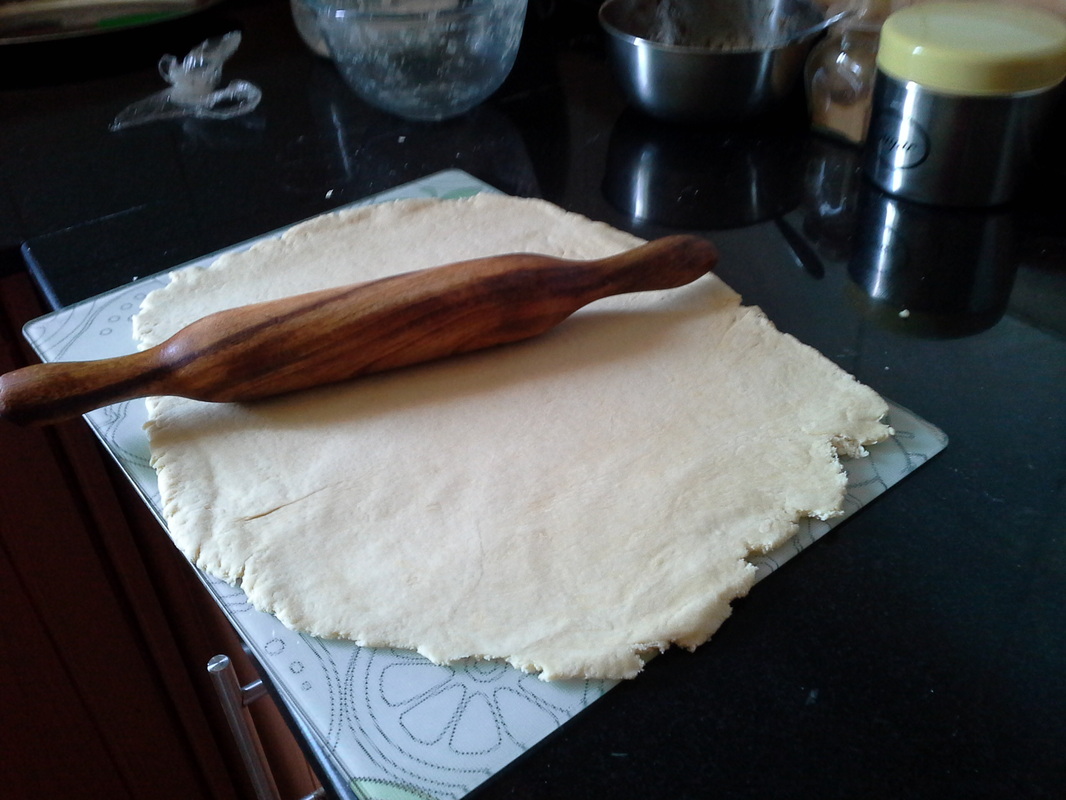
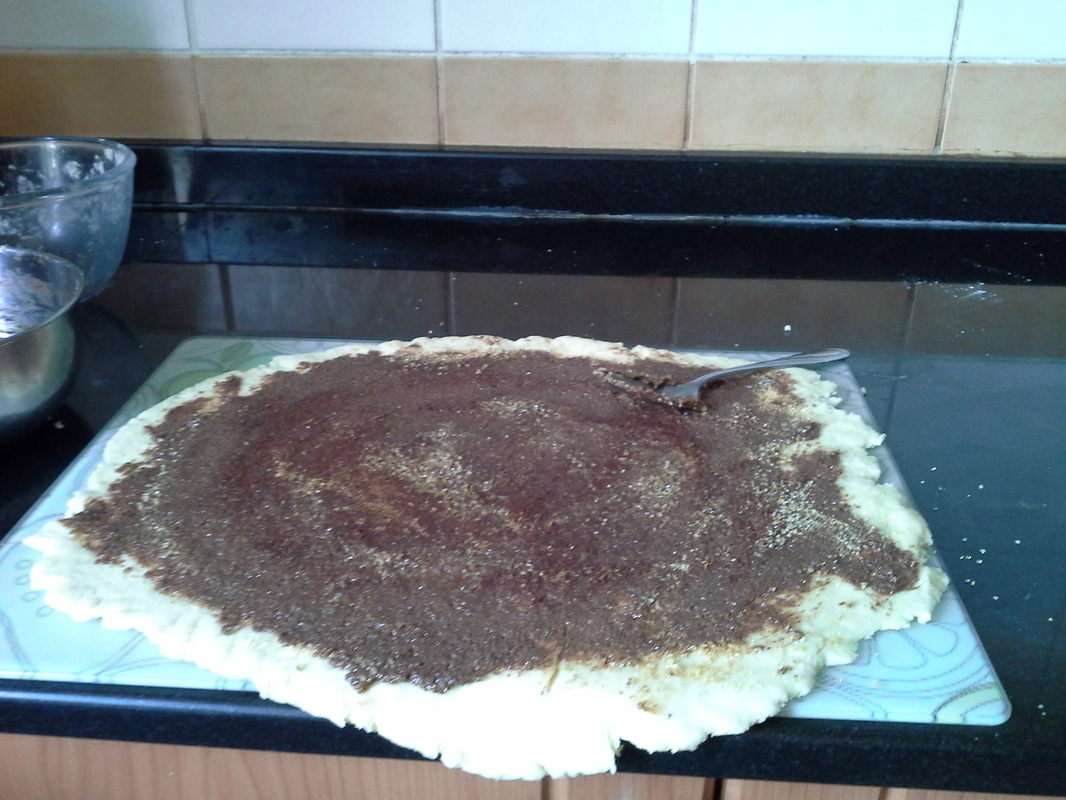
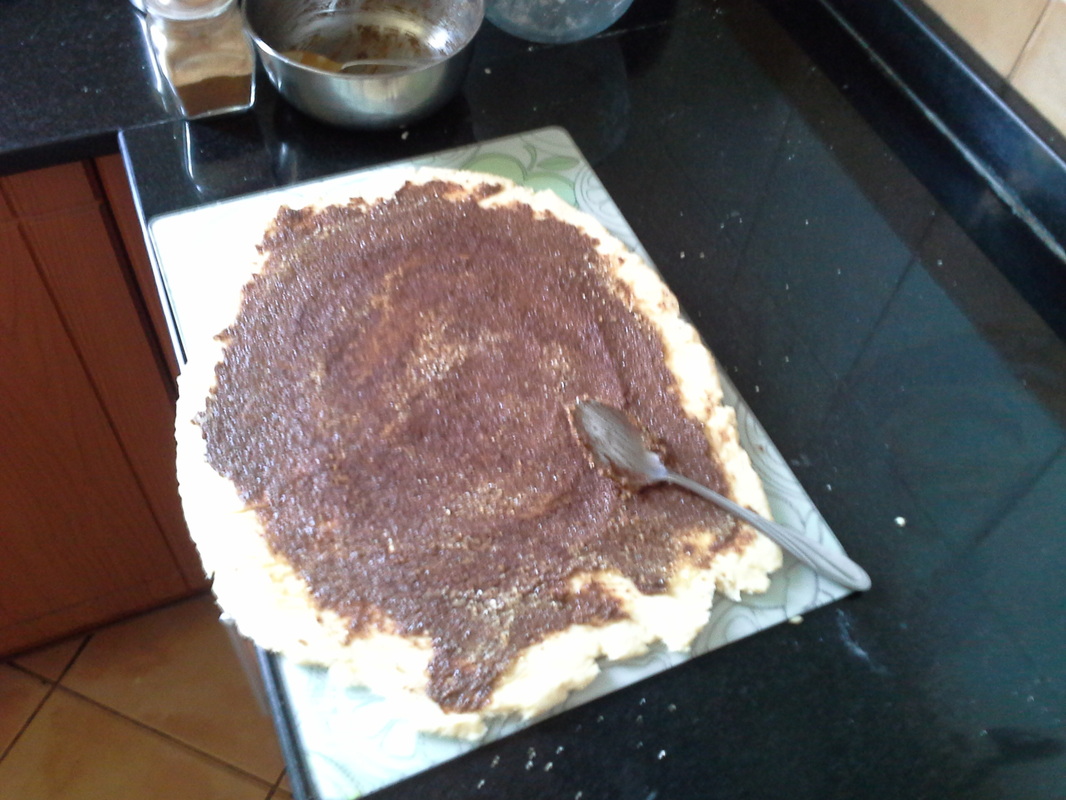
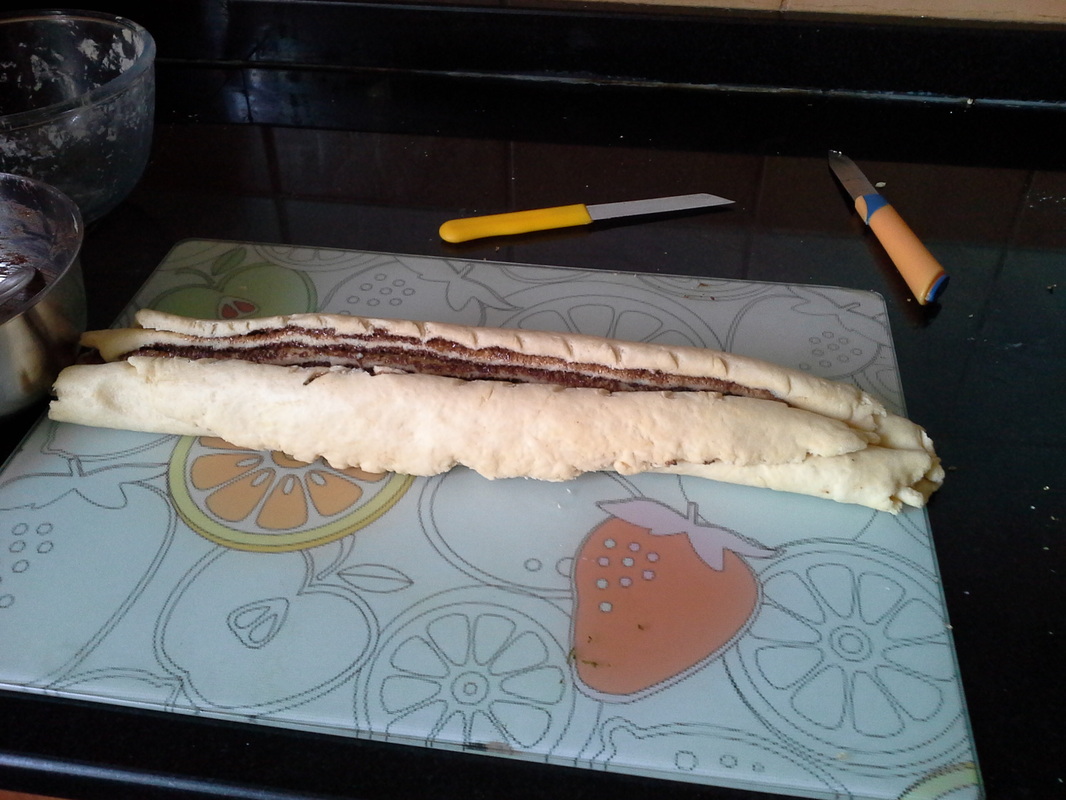
Spread the paste on top, covering all sides. The more paste you have, the more gooey and delicious your bread is going to be!!
Roll it up, length wise. Cut it into half, length wise.
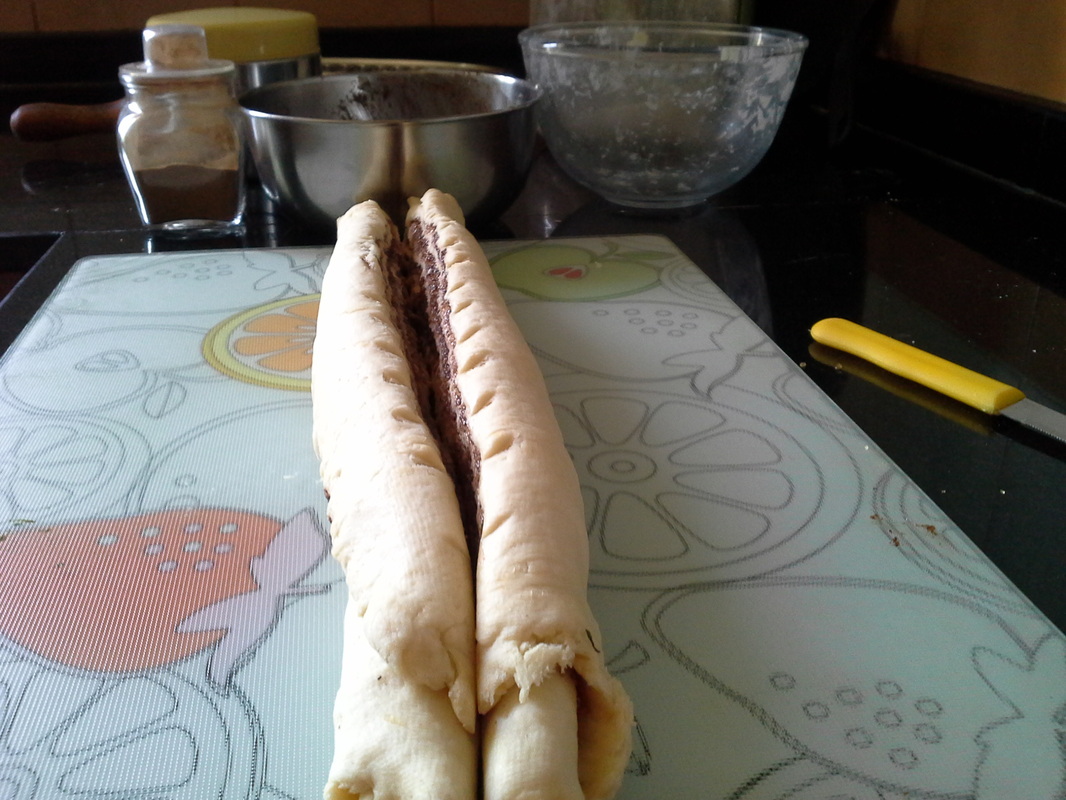
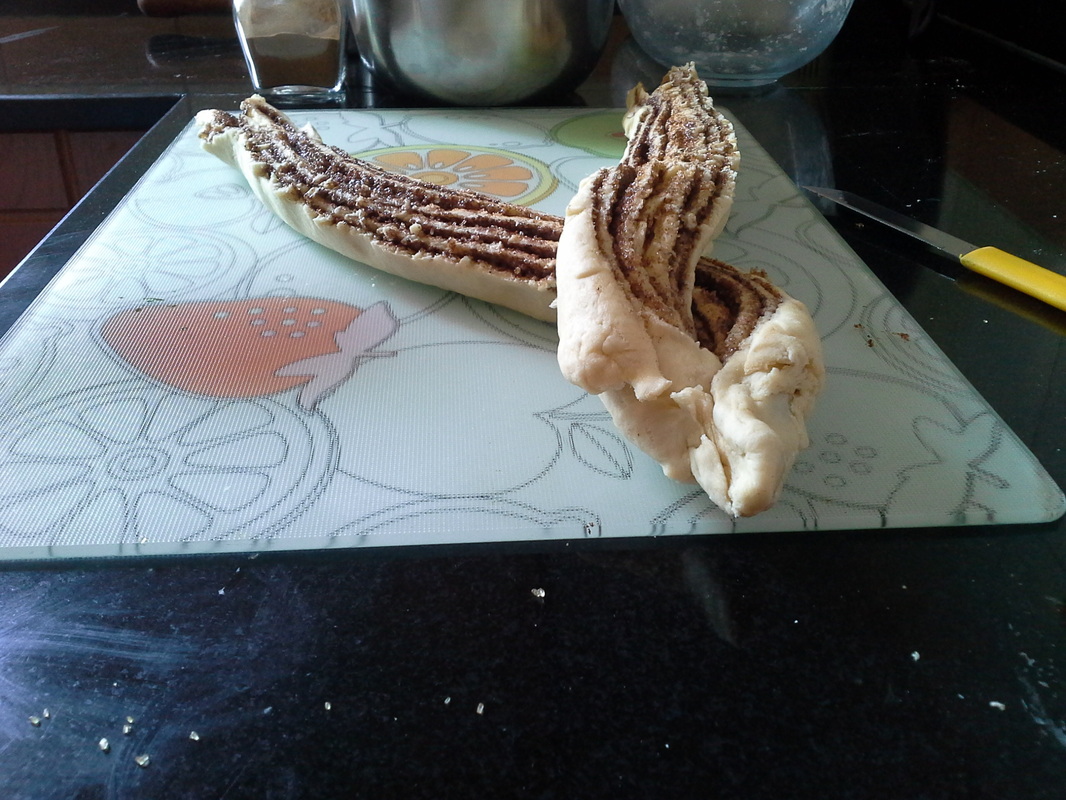
Now after separating both pieces, cinch them at the top, by pinching the dough together. Then you get 2 long strands of the dough, emerging from the cinched source. Pick up one strand and place it over the other to form a braid.
Now pick up the strand of the other strand that is below and lift it to cross over the upper strand. This forms the second link of the braid.
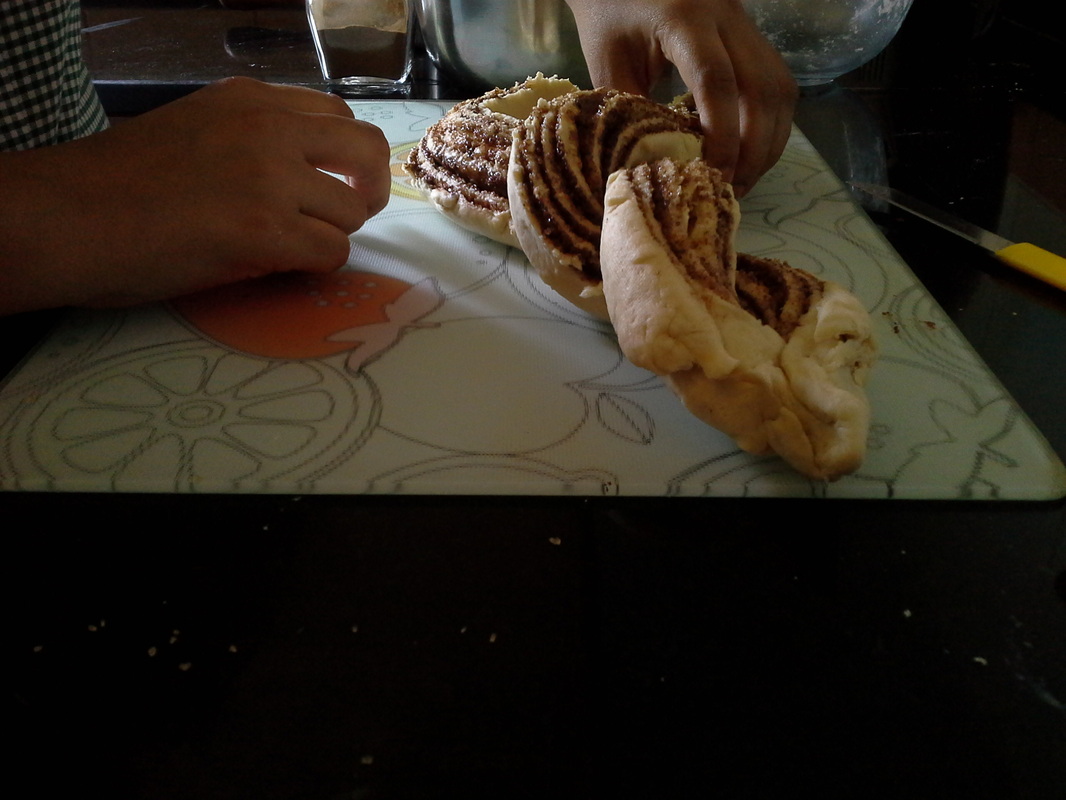
Continue to do this, till you braid it till the end of the strands. Then cinch the ends together like you have done for the upper side, by pinching the dough together
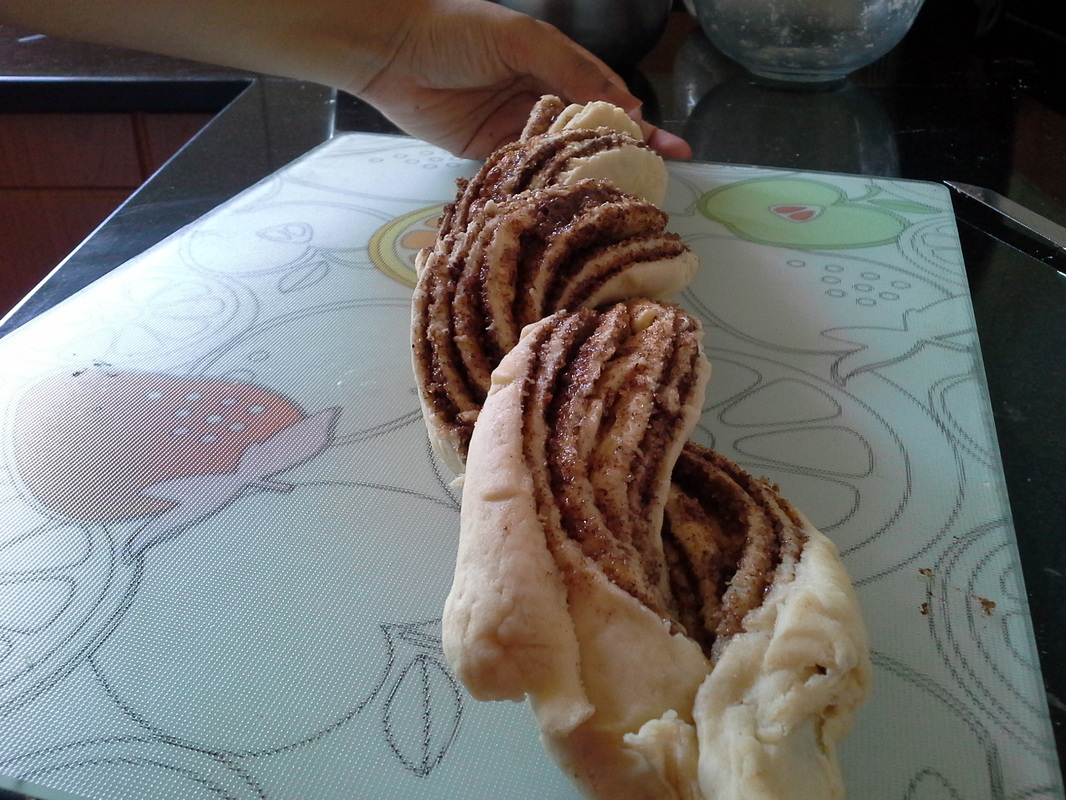
After this is done, to form the shape of the bread, you may want to cut off the tips of the bread to remove the "dough-y" part, so that your bread doesn't have any plain bits. This is the mistake that I made, so I don't want you to repeat that. After that's done, bring the two ends together and cinch them to form a circle, by pinching the dough together and making sure it's firm!

Place the bread onto a baking tray lined with parchment paper! Now I made some more of the cinnamon paste and brushed it across the top because I didn't have any cream cheese for the frosting/glaze. But if you have that frosting, then you can probably skip this step! Pop this into the preheated oven for 30-35 mins. Mine took 30 mins, so be careful to not overcook it! This is how it looks when it's done!
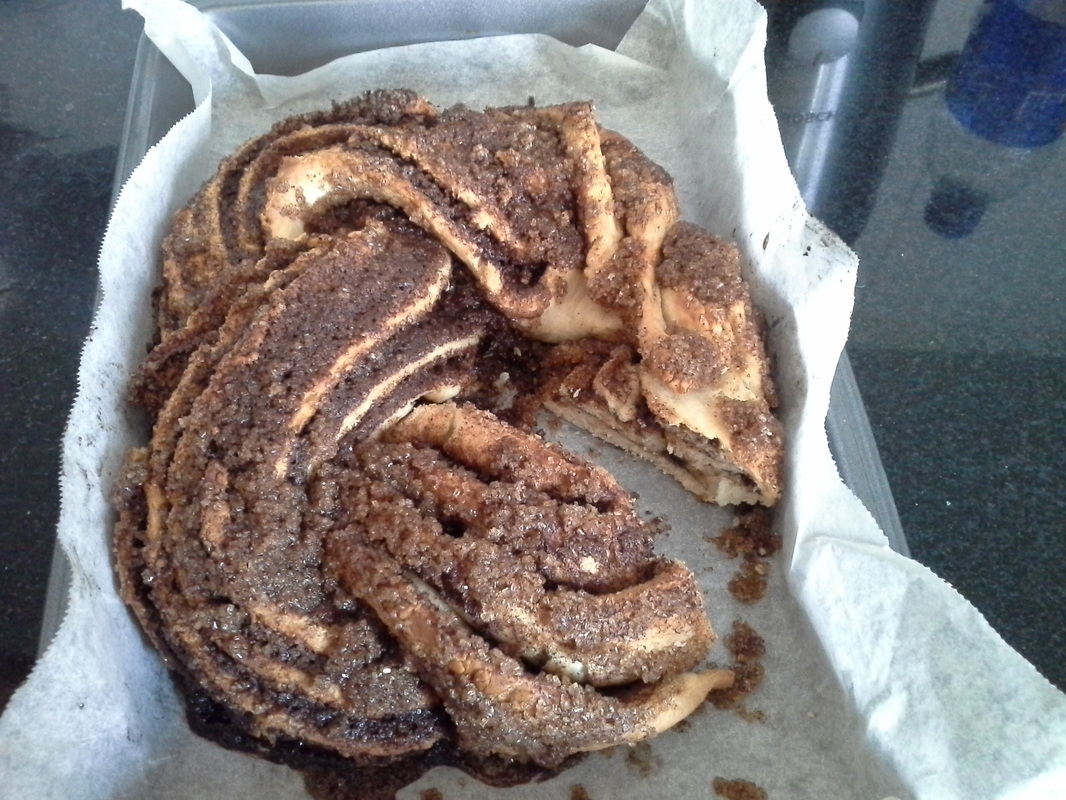
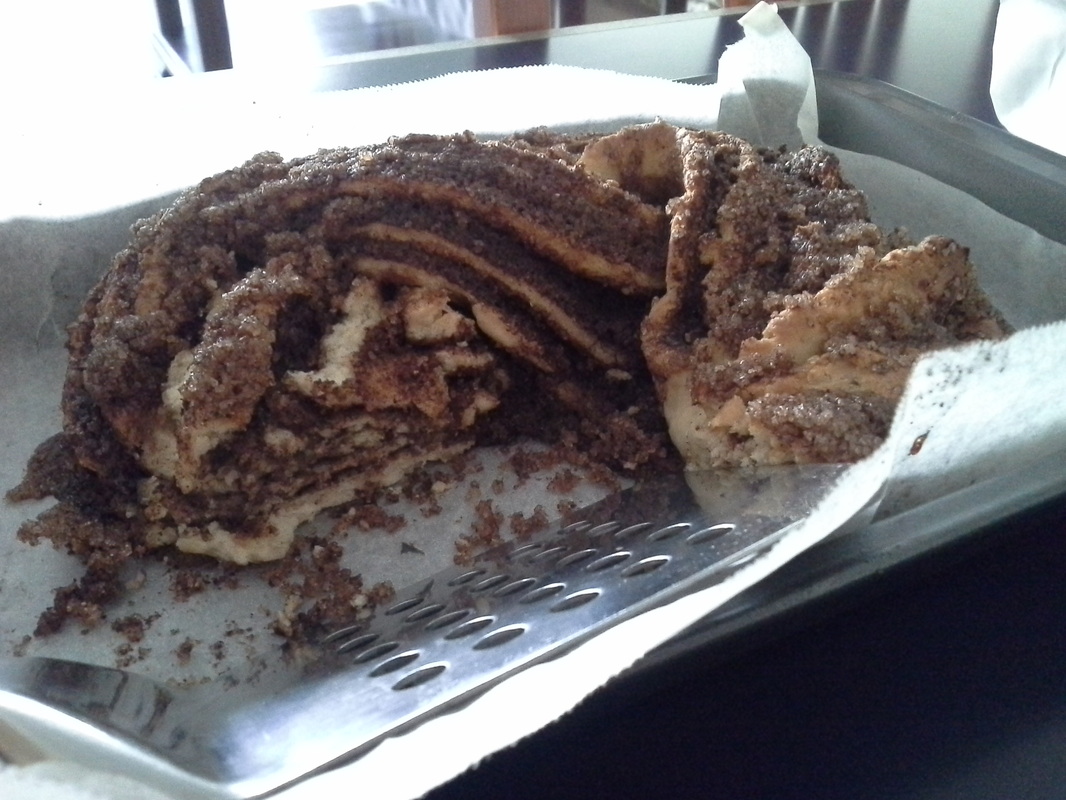
As you can see, my brother couldn't wait to get his paws on the bread, so I had to cut him a slice before I could take the picture! The second picture shows you the cross section of the bread so you can see the beautiful layering of this cinnamon goodness! This is the real deal, guys, get into the kitch and treat yourself and your family for breakfast or even as dessert after a light dinner. It is a treat to see, and a treat to eat! You can just keep the leftovers in the fridge because it's not going to taste bad when you want to serve it as breakfast the following morning. If you like, you can just warm it up a bit, it becomes JUST like it was when you popped it out of the oven. You can have this cold or warm, however :)
Enjoy! :D
I hope you enjoyed this article, please leave comments for suggestions, tips, etc. for what you'd like to see next! :) I'm going to try and write every 10-14 days. The more viewers and/or comments I see, the more often I'll write.
Till the road kills,
Anu
Enjoy! :D
I hope you enjoyed this article, please leave comments for suggestions, tips, etc. for what you'd like to see next! :) I'm going to try and write every 10-14 days. The more viewers and/or comments I see, the more often I'll write.
Till the road kills,
Anu
 RSS Feed
